

You will need:
A lampshade
Fabric (how much will depend on the size of your lampshade)
Spray adhesive
Fabric glue or glue gun
Pegs
Large table cloth or covering
Trimmings (optional)
This project is so simple yet so effective.
 |
| Before and After |
Lay out the fabric
Roll the lampshade, holding fabric alongside, mark in pencil when the end meets

Most lampshades are cone shaped so make sure you have enough fabric before cutting

Step 2
Iron hem of outside edge

Step 3
Spray wrongside of fabric with spray adhesive
(use a very big table cover or cloth and ensure you are in a well ventilated room - the stuff goes everywhere!)
Spray rightside of the lampshade

Carefully place the lampshade on the fabric end
(match to the original seam to ensure that it will not show through when lit)
Then gradually wrap and smooth the fabric over the lampshade
(make sure there are no spare threads or other residue as it will show up)
Step 5
Use fabric glue or a glue gun to secure the edge with pressed hem on the outside

Place a peg or two to secure then place a book or kitchen weights to hold in place

Trim excess fabric from the top and bottom
Leave only 1-2cm allowance for folding over,
as before if there is too much seam it will show through when lit (which is exactly what I did and when I turned it on, I was really disappointed and spent all night tossing and turning thinking about ways in which I could fix the mistake)

Cut short slits where frame is secured, normally at the bottom
Apply fabric glue to the fabric and original lampshade top trim
You can use a glue gun, I preferred not too as it is too hot for such a fiddly task, however this would probably be the most secure fastening
Gradually press, smooth and mould the seam around the circumference of the top
Use pegs to secure as you go
Leave to dry

As above for the bottom of the lampshade
Step 9
Add trimmings of your choice
I used pink pom poms from the Eternal Maker and secured it with fabric glue, pinned on while drying with pegs


Your revamped lamp is complete you now have a brand new one off lampshade - Congratulations!

The next project for the main bedroom is covering the headboard. Tutorial to follow.
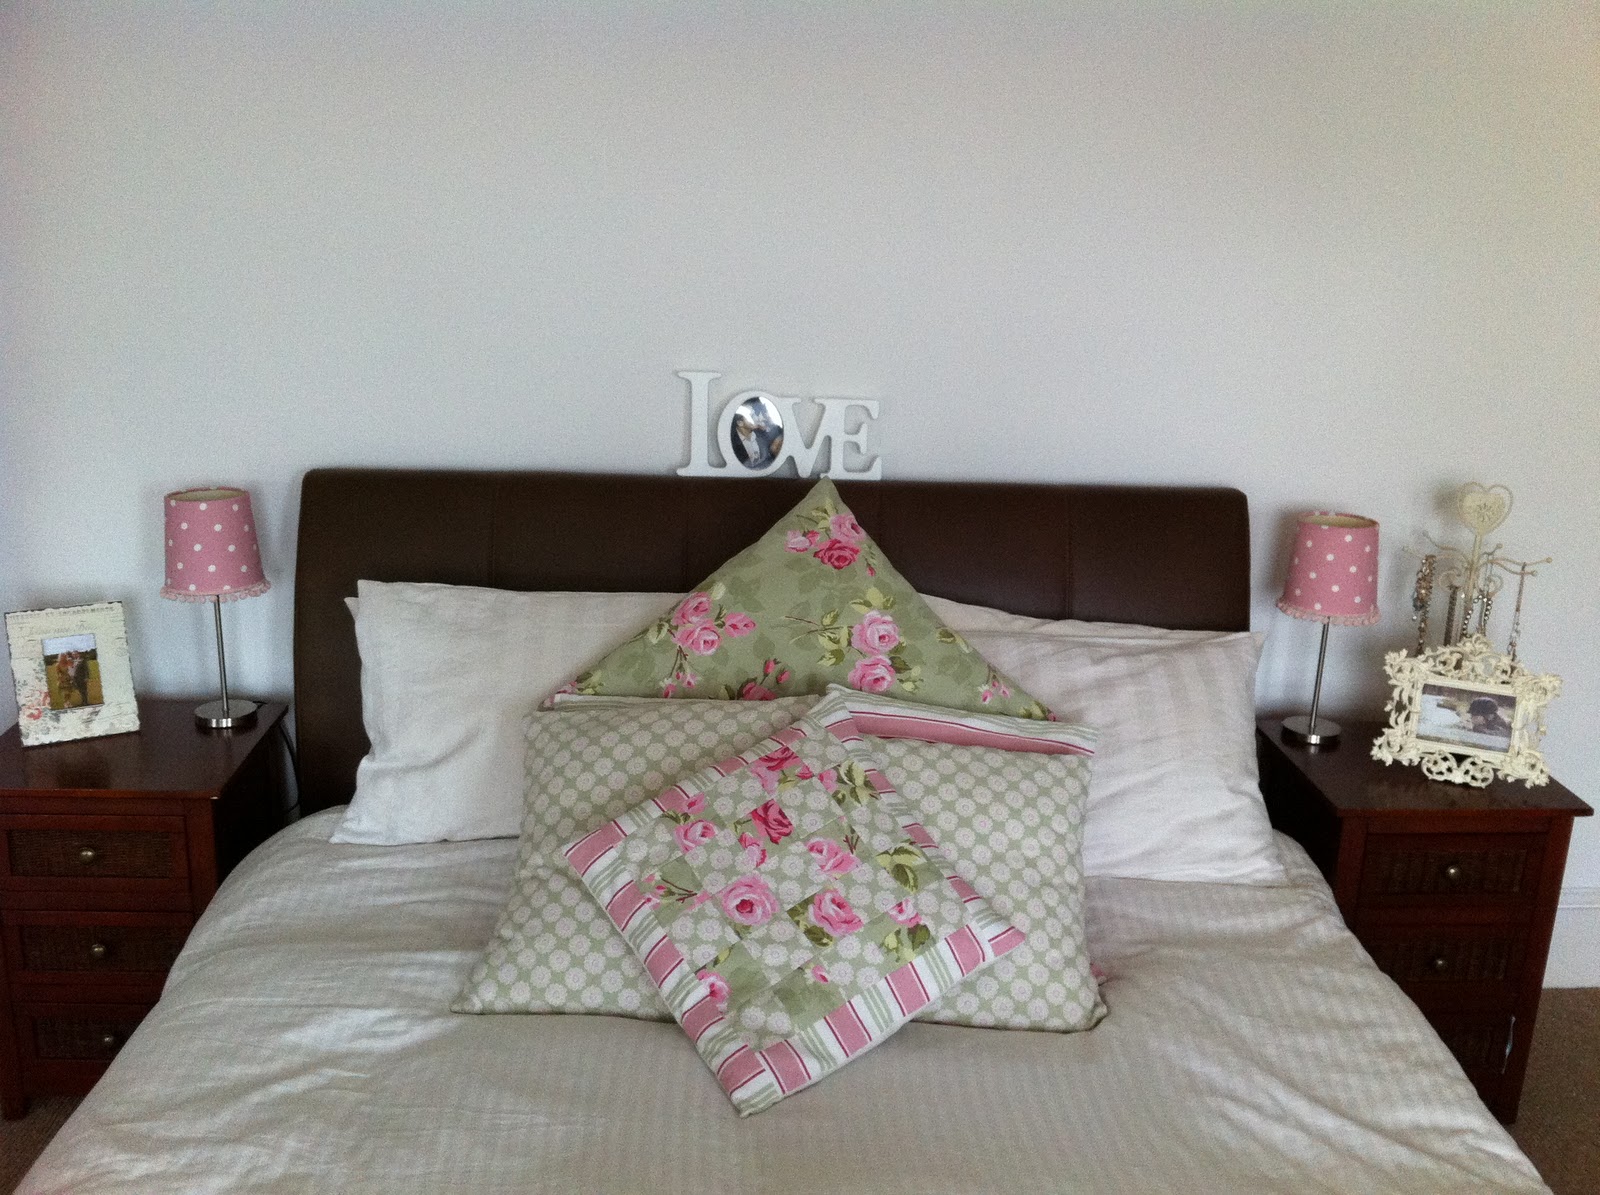


I have to admit I am perfectly pleased...

Nice to see you again
Xxx
No comments:
Post a Comment